 Apache NetBeans
Composite Component Architecture in Oracle JET
| This tutorial needs a review. You can edit it in GitHub following these contribution guidelines. |
This document provides a step-by-step set of instructions guiding you through the process of creating Composite Components with the Oracle JavaScript Extension Toolkit (JET). JET empowers web and mobile developers by providing a modular toolkit based on modern JavaScript, CSS3, and HTML5 design and development principles.
Setting Up an Oracle JET Application
In this exercise you set up an Oracle JET application and explore its default content.
-
Follow the steps described in Setting Up an Oracle JET Application.
-
Open the project into an editor or IDE of your choice, such as NetBeans IDE, which displays the application as follows:
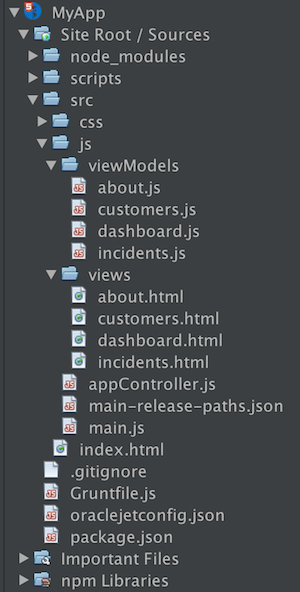
Spend some time browsing through the application structure. In the next section, you’ll be introduced to the main concepts of the application structure.
Creating a CCA Component
In this exercise, you create your first CCA component, which is Oracle’s implementation of the W3C Web Component Standard.
-
In
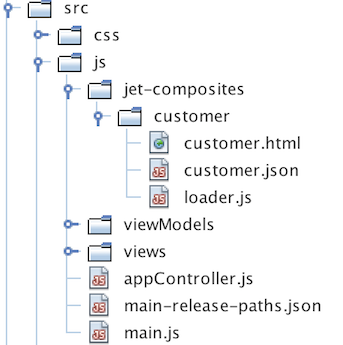
src/jscreate a folder namedjet-compositesor any other name. In that folder, create another folder, namedcustomer. In thecustomerfolder, create the three files you see below, that is,customer.html,customer.jsonandloader.js, shown below:
-
In
customer.html, paste the below:
<b data-bind="text: $props.name"></b>
<i data-bind="text: $props.city"></i>
<hr>
.
In customer.json , paste the below:
{
  "properties": {
    "name": {
      "description": "Customer name.",
      "type": "string"
    },
    "city": {
      "description": "Customer location.",
      "type": "string"
    }
  }
}
.
In loader.js , paste the below:
define(['ojs/ojcore',
    'text!./customer.html',
    'text!./customer.json',
    'ojs/ojcomposite'],
  function(oj, view, metadata) {
    oj.Composite.register('my-customer', {
      view: {inline: view},
      metadata: {inline: JSON.parse(metadata)}
    });
  }
);
When you name your CCA component, such as my-customer above, see this information and validate your name here.
You have now created a simple CCA component, providing the my-customer custom element.
Using a CCA Component
In this exercise, you use the CCA component you created in the previous section.
-
In the HTML file of one or more of your Oracle JET modules, use the CCA component as follows:
<!-- ko foreach: customers -->
  <my-customer name="{{name}}" city="{{city}}"></my-customer>
<!-- /ko -->
Read more about Knockout for-each loops here: http://knockoutjs.com/documentation/foreach-binding.html.
-
In the previous step, there’s an assumption that an array named
customersexists. Add it to the JavaScript file in the Oracle JET module:
self.customers = [
    {name: 'Bill Bob Thornton', city: 'New York'},
    {name: 'Brad Pitt', city: 'Hollywood'},
    {name: 'Val Kilmer', city: 'Seattle'}
];
.
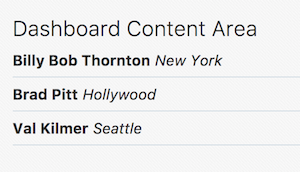
In the define block, load the following, at the end of the list of references:
'ojs/ojcomposite', 'jet-composites/customer/loader'. Look in the browser and you should see the following:
Next Steps
Read the related Oracle JET Cookbook section in detail and include another CCA component from there.
Also read Creating Composite Components in the Oracle JET Developer Guide.
Congratulations! You have now learned how to create and load CCA components in your Oracle JET applications.
See Also
For more information about support for Oracle JET and a variety of HTML5 applications in the IDE on netbeans.org, see the following resources:
-
"Learn" section on the Oracle JET site. A set of official Oracle JET learning resources.
-
Working with CSS Style Sheets in HTML5 Applications. A document that continues with the application that you created in this tutorial that demonstrates how to use some of the CSS wizards and windows in the IDE and how to use the Inspect mode in the Chrome browser to visually locate elements in your project sources.
-
Debugging and Testing JavaScript in HTML5 Applications. A document that demonstrates how the IDE provides tools that can help you debug and test JavaScript files in the IDE.
